Chapter 7 Publishing tutorials on shinyapps.io
This chapter is not yet complete.
7.1 Authorizing rstudio.cloud to publish
You need to authorize rstudio.cloud to publish to your shinyapps.io account. How do you do this? The general idea is that you login to shinyapps.io and ask it to tell you a secret. Then, from rstudio.cloud, you send that secret back to shinyapps.io. Once shinyapps.io knows that rstudio.cloud is in on the secret, shinyapps will accept future commands from you rstudio.cloud account.
- Login to your account on
rstudio.cloud. - Open any project on
rstudio.cloud.- From the RStudio interface, select the “Packages” tab and press “Install”.
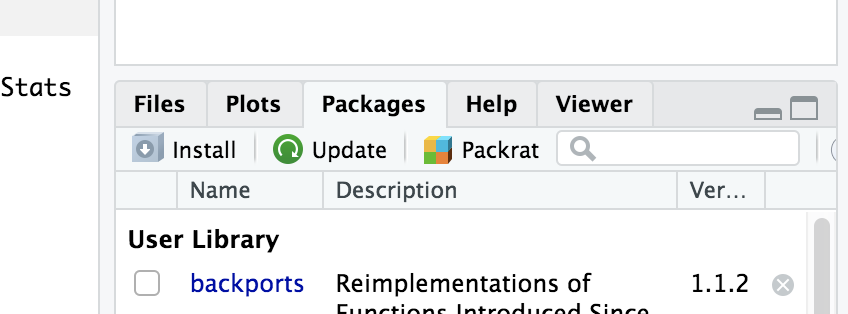
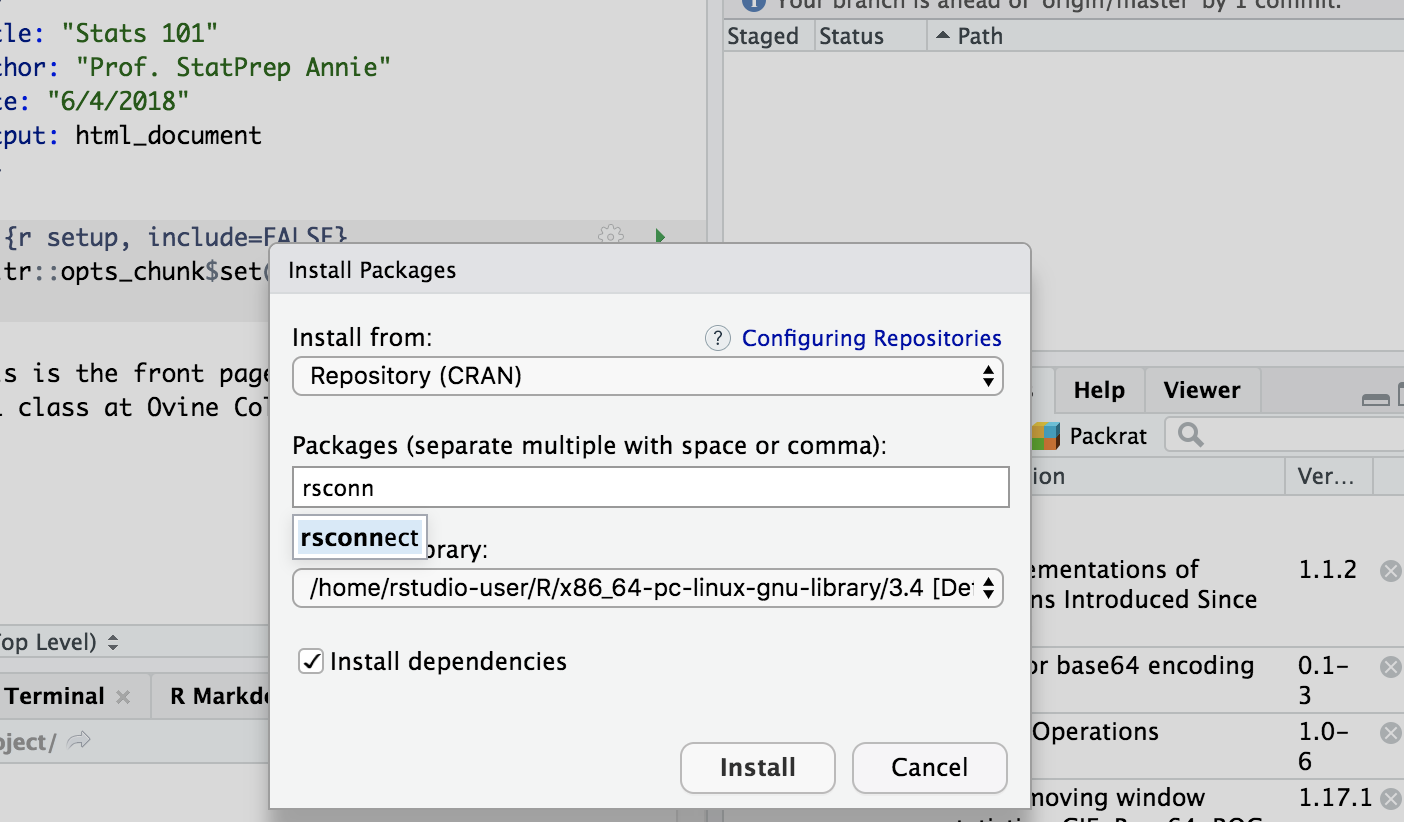
- In the dialog box that appears, start typing
rsconnect. At some point, the dropdown menu will show that choice. Click on that and press “Install”.
- From the RStudio interface, select the “Packages” tab and press “Install”.
 3. Login to
 shinyapps.io. Select the “Dashboard” tab. You’ll see a section entitled “Authorize account” with a display of computer code and a “copy to clipboard” button. Press that button. 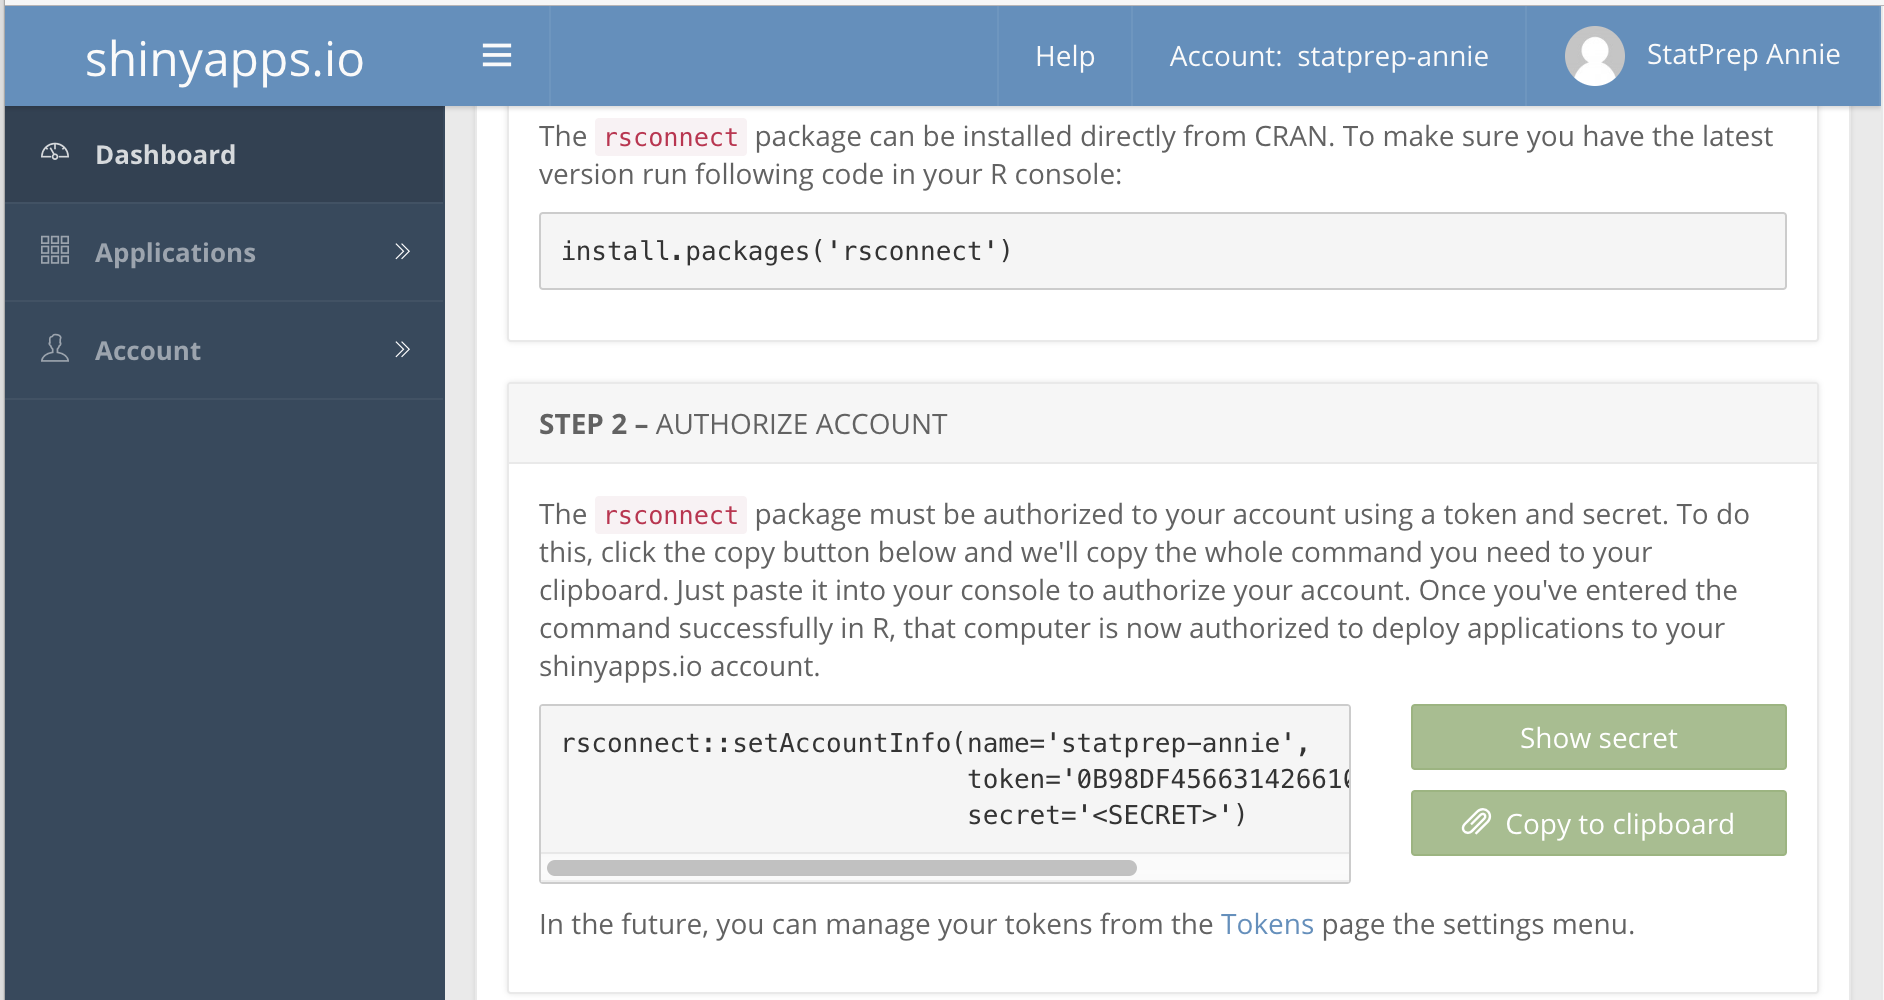 Depending on your browser, you may be asked to press CNTR-C to copy the code.
- Return to the console in
rstudio.cloudand paste in the code you copied in (3).
Press the “Publish” button. - Select “RStudio Connect” - Select “Publish finished document only” - In the dialog box titled “Select RStudio Connect Account”, type the address shinyapps.io.